

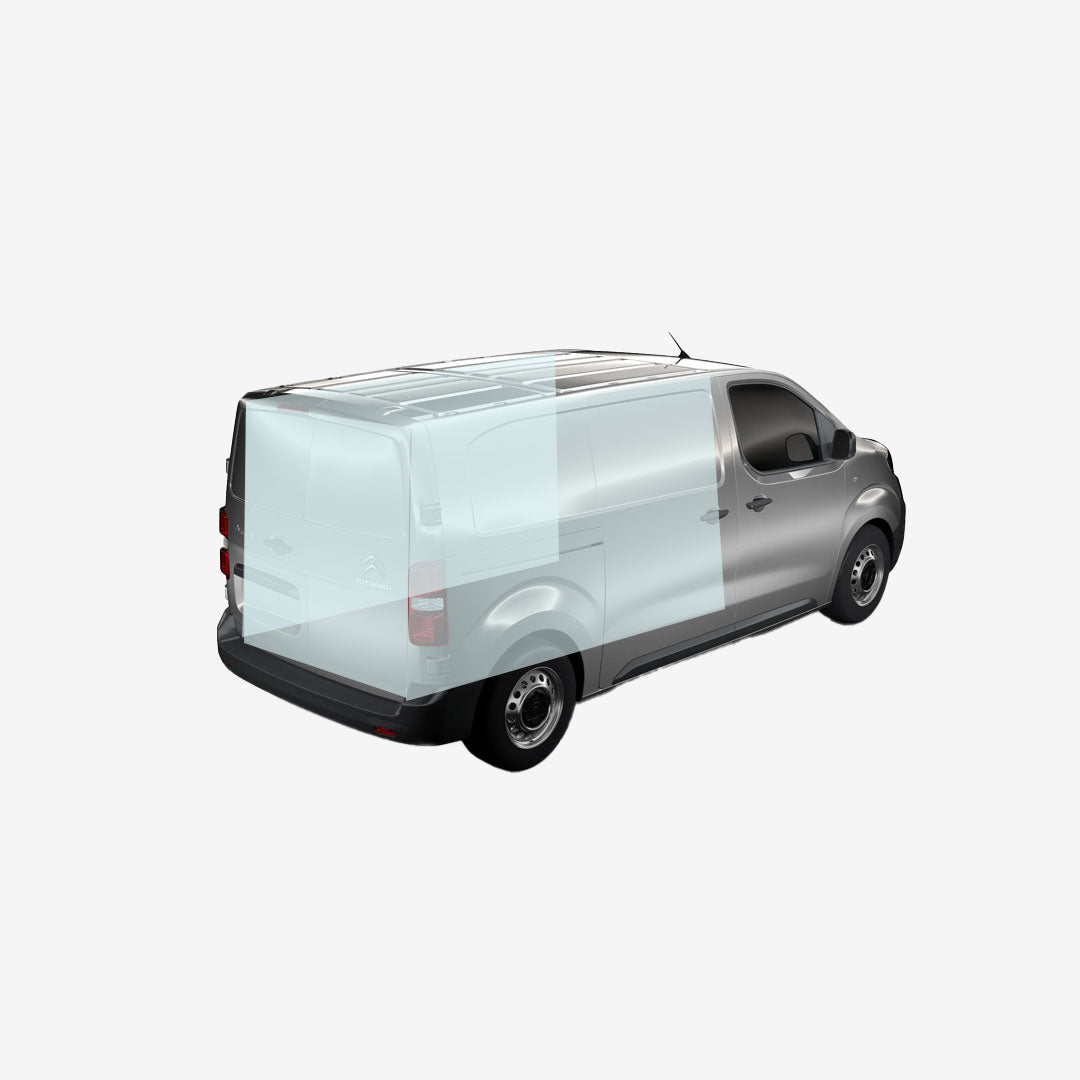
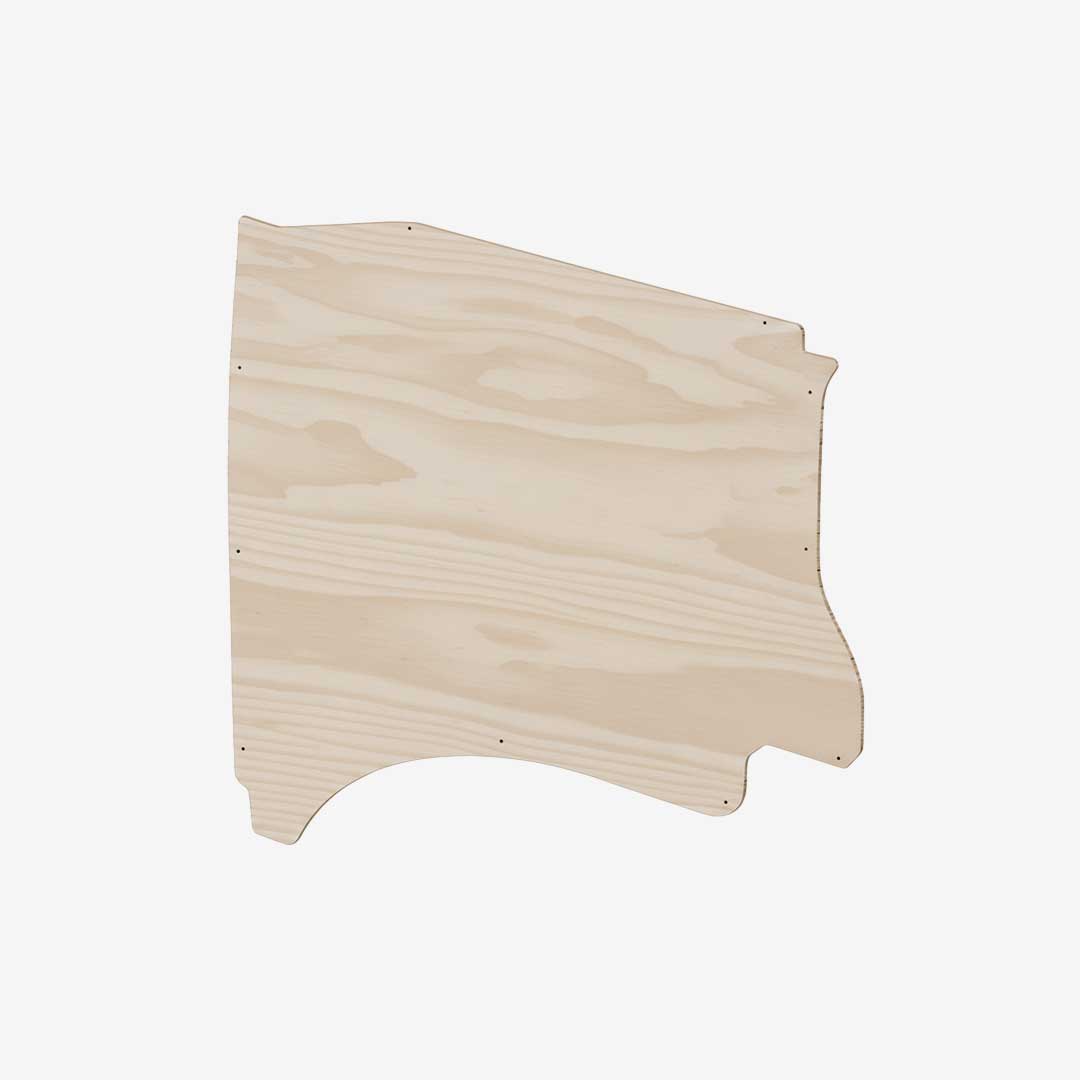
Citroën Jumpy M (L2H1) Side Panels – 5mm Poplar Plywood
Full lining kit for Citroën Jumpy M (L2H1, K0 platform): left + right side panels and rear lining in 5 mm poplar plywood. Several parts (front high/low + rear). Options: raw/oiled finish, 1 or 2 side doors, tailgate or double door. Fasteners not included.
Compatible with Peugeot Expert 3, Toyota Proace, Opel Vivaro 3, Fiat Scudo.
100% sécurisé
livraison rapide
en Bretagne
réactif
 Payez en 3x sans frais avec Klarna
Nos délais actuels sont de 4 à 5 semaines pour les meubles en contreplaqué brut ou huilé.
- Contreplaqué brut : à protéger (poncer, vernir, peindre, huiler, ou autre)
- Contreplaqué huilé : nettoyage coté doux de l'éponge possible. Possible de re-passer de l'huile sur les éclats. Ne nécessite pas d'entretien régulier.
- Contreplaqué stratifié : identique à des meubles de cuisine habituels (éponge)
Choose options
Questions fréquentes
Citroën Jumpy M (L2H1) Side Panels – 5mm Poplar Plywood
Construisez

votre expérience

Jumpy M K0 Linings: the common platform well covered
The Citroën Jumpy M (L2H1) uses the K0 platform shared by four brands. This lining kit is cut to the common K0 template — it covers the left and right side panels (front top, front bottom, rear) and the rear door area, with cutouts adapted to the wheel arches and uprights specific to this architecture.
5 mm Poplar on K0
The K0 platform has rather prominent wheel arches. 5 mm poplar, thanks to its relative flexibility and lightness, adapts well to the interior contours of these vehicles. The smooth surface allows for direct application of paint, felt, or glued coating.
Configuration options
Single or double side door, tailgate or double rear door — please specify your configuration. Oiled finish is recommended for use without additional coating.
K0 Compatibility
This kit is compatible with the Peugeot Expert 3, Toyota Proace, Opel Vivaro 3, and Fiat Scudo — same interior panel dimensions.
Technical questions
Is fastening included? No — screws, rivets, or clips to be provided depending on the support. The ribs of the K0 body allow for fastening with wood screws and anchors.
Is this kit compatible with the K0 ceiling? Yes — K0 ceiling and linings are designed to work together with a clean result at the junctions.
En détail
Découpe de montant
Pre-cuts
Front/rear design
Avis clients Google
Ils nous font confiance
Un immense merci à toute l'équipe EXOKIT ! Solenn, la commerciale, super à l'écoute et réactive. Alan du bureau d'études m'a fourni une vue 3D de l'aménagement avant même la fabrication. Et le suivi après-vente, même depuis la Corse via WhatsApp, c'est franchement appréciable. Une entreprise que je recommande les yeux fermés.

Jean-Baptiste ★★★★★
Kit d'une superbe qualité pour notre Van Renault Trafic 3, très belle finition et précision. Facile à monter et à assembler. Livraison rapide et dans les temps malgré une commande tardive. Exokit sait être à l'écoute de ses clients.
Agathe ★★★★★
Nous avons fait le choix d'un kit en U pour notre Trafic et franchement, c'est génial ! Facile à monter et de très bonne qualité. Les coussins sont très confortables. Nous sommes très satisfaits.
Elodie ★★★★★
Tout simplement parfait — j'ai acheté et monté le kit moi-même pour mon Transporter T5. Superbe qualité, très fonctionnel, et l'équipe est au TOP. Continuez comme cela !
Patrice ★★★★★
Exokit fournit des meubles en kit d'une grande qualité. Leur showroom à Saint-Brieuc permet de décider rapidement quel kit est adapté à son van. Ce sont des experts passionnés, que je recommande vivement à tous les propriétaires de vans et fourgons.
Benjamin ★★★★★

Quelques mots sur Exokit
Nous mettons à votre disposition notre expérience acquise sur des centaines d'aménagements de van.
N'hésitez pas à nous contacter pour tout renseignement.
Vous aimerez aussi

Les meubles latéraux

Autres banquettes

Les habillages intérieurs
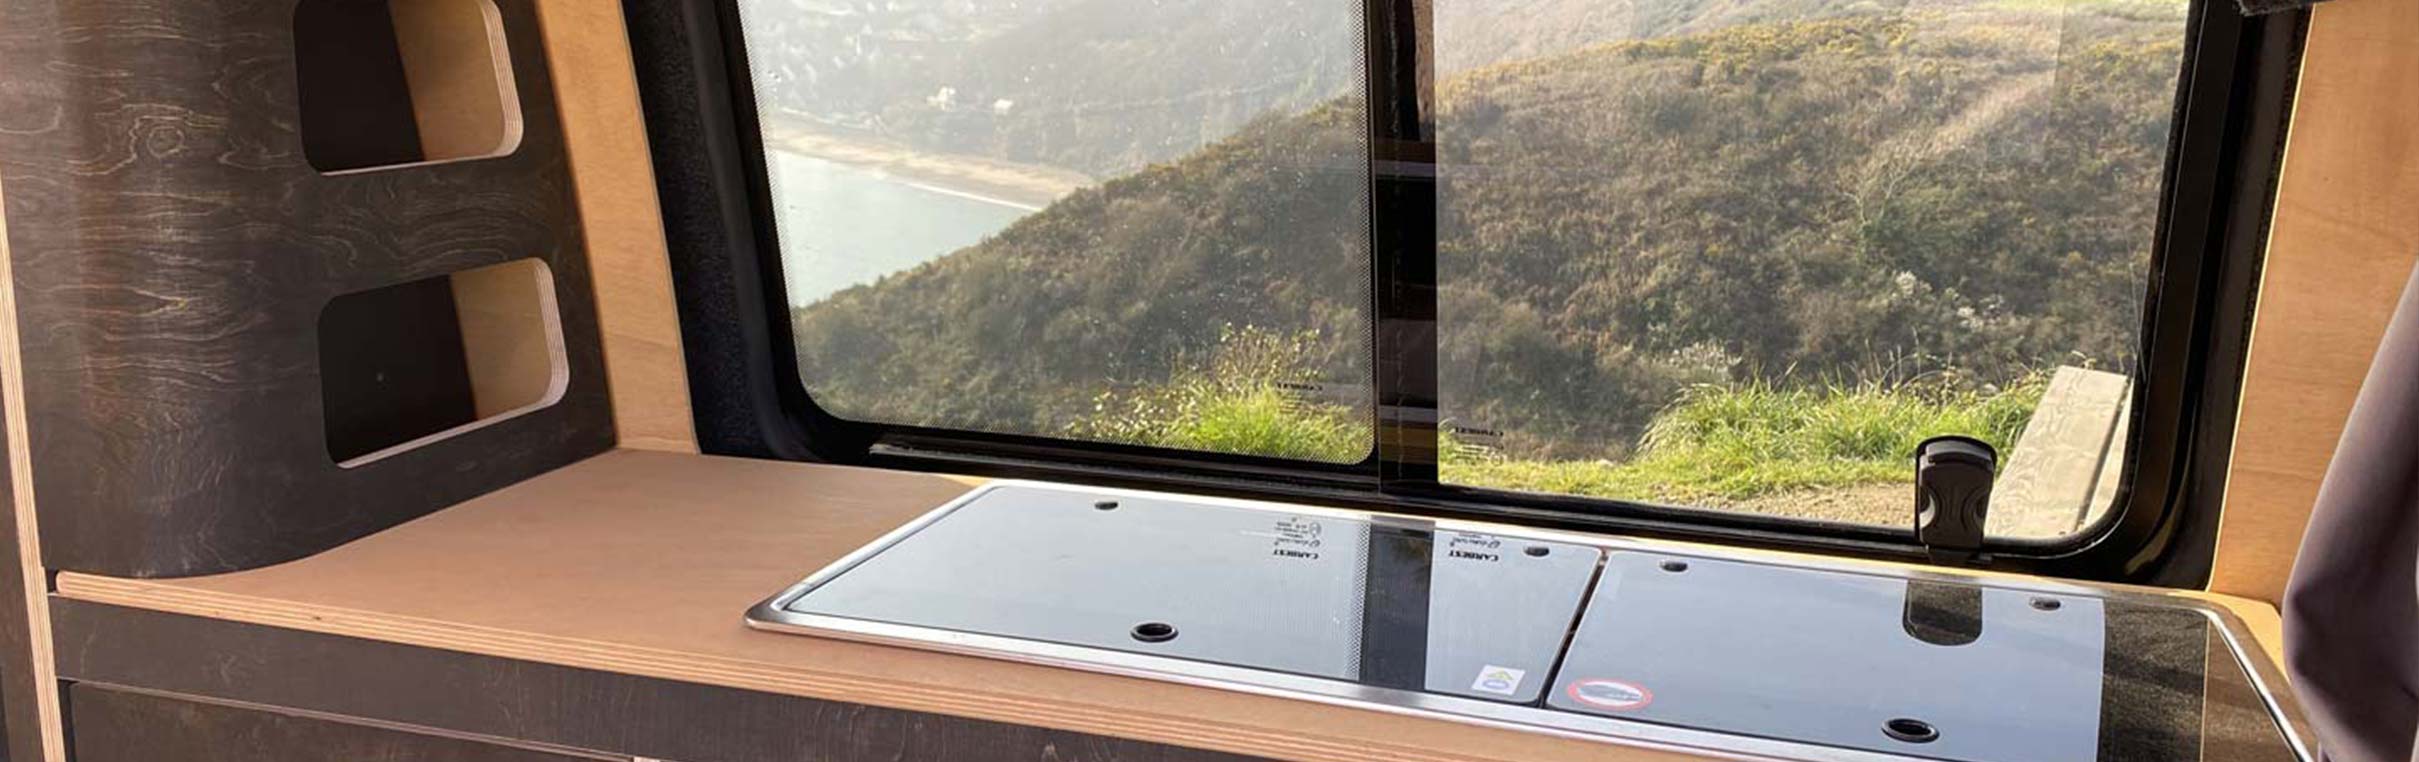
Ils ont aménagé leur van avec Exokit
Voir les réalisations
Production locale
Tous nos kits de meuble sont fabriqués dans nos ateliers en Bretagne.

Énergie verte
Nous utilisons l'électricité d'un fournisseur français d'énergies 100% renouvelables.

Valorisation des déchets
Nos techniques de production nous permettent de limiter au maximum les déchets et rebuts.

Zéro emballage plastique
Nous mettons un point d'honneur à ne pas utiliser de plastique dans nos emballages.